Learning how to remove a stud wall is one of the best ways to open up your home. Removing an internal partition can transform two small, dark rooms into a single bright and spacious living area. The good news is that many Irish homeowners can do this job themselves with the right tools and careful planning.
In this guide, our team at Cork Demolitions will walk you through the complete process from start to finish. We cover the essential safety checks, the tools you will need, and how to strip out the wall cleanly from top to bottom without damaging the surrounding structure.
First Things First: Is the Wall Safe to Remove?
A stud wall is a lightweight internal partition built from a timber frame and covered with plasterboard. Most stud walls simply divide rooms and carry no structural weight, but some help to support the floor or roof above. Removing the wrong wall can cause serious and expensive structural damage to your property.
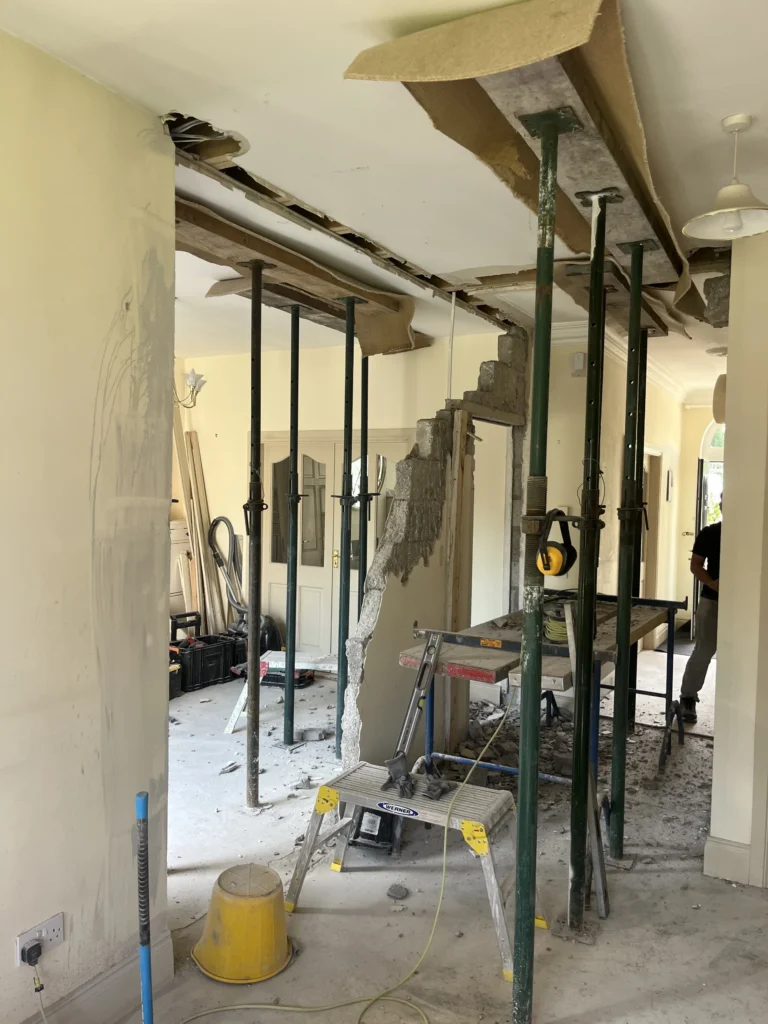
Before you lift a single tool, arrange for a structural engineer to inspect the wall and confirm whether it is load bearing. This inspection is quick and affordable, and it provides real peace of mind before any demolition begins. If the wall turns out to be structural, stop immediately, because that project needs temporary props, a steel beam, and professional help. Once you have received the all-clear, you can begin the removal with confidence.
Tools and Safety Gear You Will Need
Gather all of your tools before starting the job. You will need:
- A reciprocating saw fitted with demolition blades
- A claw hammer and a sturdy pry bar or wrecking bar
- A sharp utility knife for scoring
- A stud finder and a cable detector
- A selection of screwdrivers
- Plastic sheeting and masking tape for dust control
- Heavy-duty rubble bags or a rented skip
For personal protection, wear safety goggles, a dust mask, work gloves, and sturdy boots throughout the demolition. Plasterboard dust is extremely fine and travels everywhere, so never skip the mask.
How to Remove a Stud Wall: Step-by-Step
Follow these steps in order and the job will run smoothly.
Step 1: Turn Off the Power and Check for Services
Switch off the electricity at the fuse board before touching the wall, and run a cable detector over the surface to locate any hidden wiring. Check carefully for pipework as well, and if you discover water pipes, shut off the supply. If you suspect a gas connection, contact a Registered Gas Installer before proceeding any further.
Step 2: Prepare the Room
Clear all furniture and belongings out of the area. Lay plastic sheeting across the floor and tape it down securely, then seal the doorways to the other rooms with more sheeting. This step keeps the dust contained in one place and saves hours of cleaning afterwards.
Step 3: Remove Skirting Boards and Fixtures
Take off the skirting boards, sockets, switches, and anything else attached to the wall. Use a pry bar for the skirting and work gently if you intend to reuse the timber. If the wall contains a doorway, unscrew the door from its hinges and remove the surrounding frame.
Step 4: Score the Paint Line
Run a sharp utility knife along the junction where the wall meets the ceiling and the adjoining walls on either side. This simple step prevents the paint and plaster from tearing into the surfaces you want to preserve.
Step 5: Cut Away the Plasterboard
Now the messy work begins, so punch a starter hole in the board, then use a reciprocating saw to cut through the plasterboard between the studs, working from the top of the wall downwards.
Pull away large sections by hand wherever possible and stack them neatly for disposal, watching carefully for any cables or pipes hidden in the cavity. Repeat the process on the opposite side to expose the entire timber frame.
Step 6: Knock Out the Noggins
Noggins are short horizontal timbers fitted between the studs to stiffen the frame. A few firm blows with a hammer will knock them out cleanly because nails hold them in place.
Step 7: Remove the Studs
Use the reciprocating saw to cut each vertical stud in half through the middle. Grip each section and lever it backwards and forwards until it pulls free of its fixings. If you want to preserve the timber at full length, cut through the nails where each stud meets the plates instead.
Step 8: Take Out the Top and Bottom Plates
The top and bottom plates are the final pieces of the framework. Cut through the fixings holding the top plate to the ceiling, then pry it away with your wrecking bar, and repeat the same process with the bottom plate on the floor. Remove or hammer flat any remaining nails, because a single stray nail is an accident waiting to happen.
Step 9: Tidy Up and Make Good
Fill the holes left behind in the ceiling, floor, and side walls, then sand them smooth once the filler has dried. You may also need to patch the flooring where the wall previously stood. Sweep and vacuum the entire area thoroughly before taking down the plastic sheeting.
Do You Need Permission in Ireland?
Removing a non-load-bearing stud wall inside your own home does not normally require planning permission in Ireland, although building regulations still apply to the work. A registered electrician must complete all electrical work, while a Registered Gas Installer must handle all gas work. If your engineer finds that the wall is structural, you will need proper design details and building control compliance before any demolition begins.
How to Dispose of the Waste
A single stud wall creates far more rubble than most people expect. You must keep plasterboard out of your regular household bin and dispose of it separately at a licensed facility. For most projects in Cork, hiring a small skip is the simplest option, or a demolition contractor can remove and dispose of everything for you as part of the overall job.
When to Call in the Professionals
Knowing how to remove a stud wall is one thing, but certain situations are best handled by experienced contractors. Call in the experts if:
- The wall is load bearing or you are uncertain about its condition.
- There is wiring, plumbing, or gas concealed inside the wall.
- The property is older and may contain asbestos materials.
- You simply want the project completed quickly, safely, and fully cleaned up.
At Cork Demolitions, we remove internal walls across Cork City and County every week. We manage the safety checks, the demolition itself, and the waste disposal, leaving you with a clean and open space that is ready for the next stage of your renovation.
Frequently Asked Questions
How long does it take to remove a stud wall? You can usually remove a standard non-load-bearing stud wall within half a day to a full day, then spend additional time patching and cleaning.
Can I remove a stud wall myself? Yes, provided a structural engineer confirms the wall is not load bearing and there are no gas or complex electrical services running through it.
How much does it cost to have a stud wall removed? Professional removal of a simple stud wall in Cork typically costs a few hundred euro, depending on the size, the services involved, and the waste disposal arrangements.
Final Thoughts
Now that you understand how to remove a stud wall, you can approach the job with genuine confidence. Complete the safety checks, take your time, and always leave the top and bottom plates until last. If you would prefer to leave everything to a trusted local team, contact Cork Demolitions today for a free, no-obligation quote.