Project Details

Client Brief

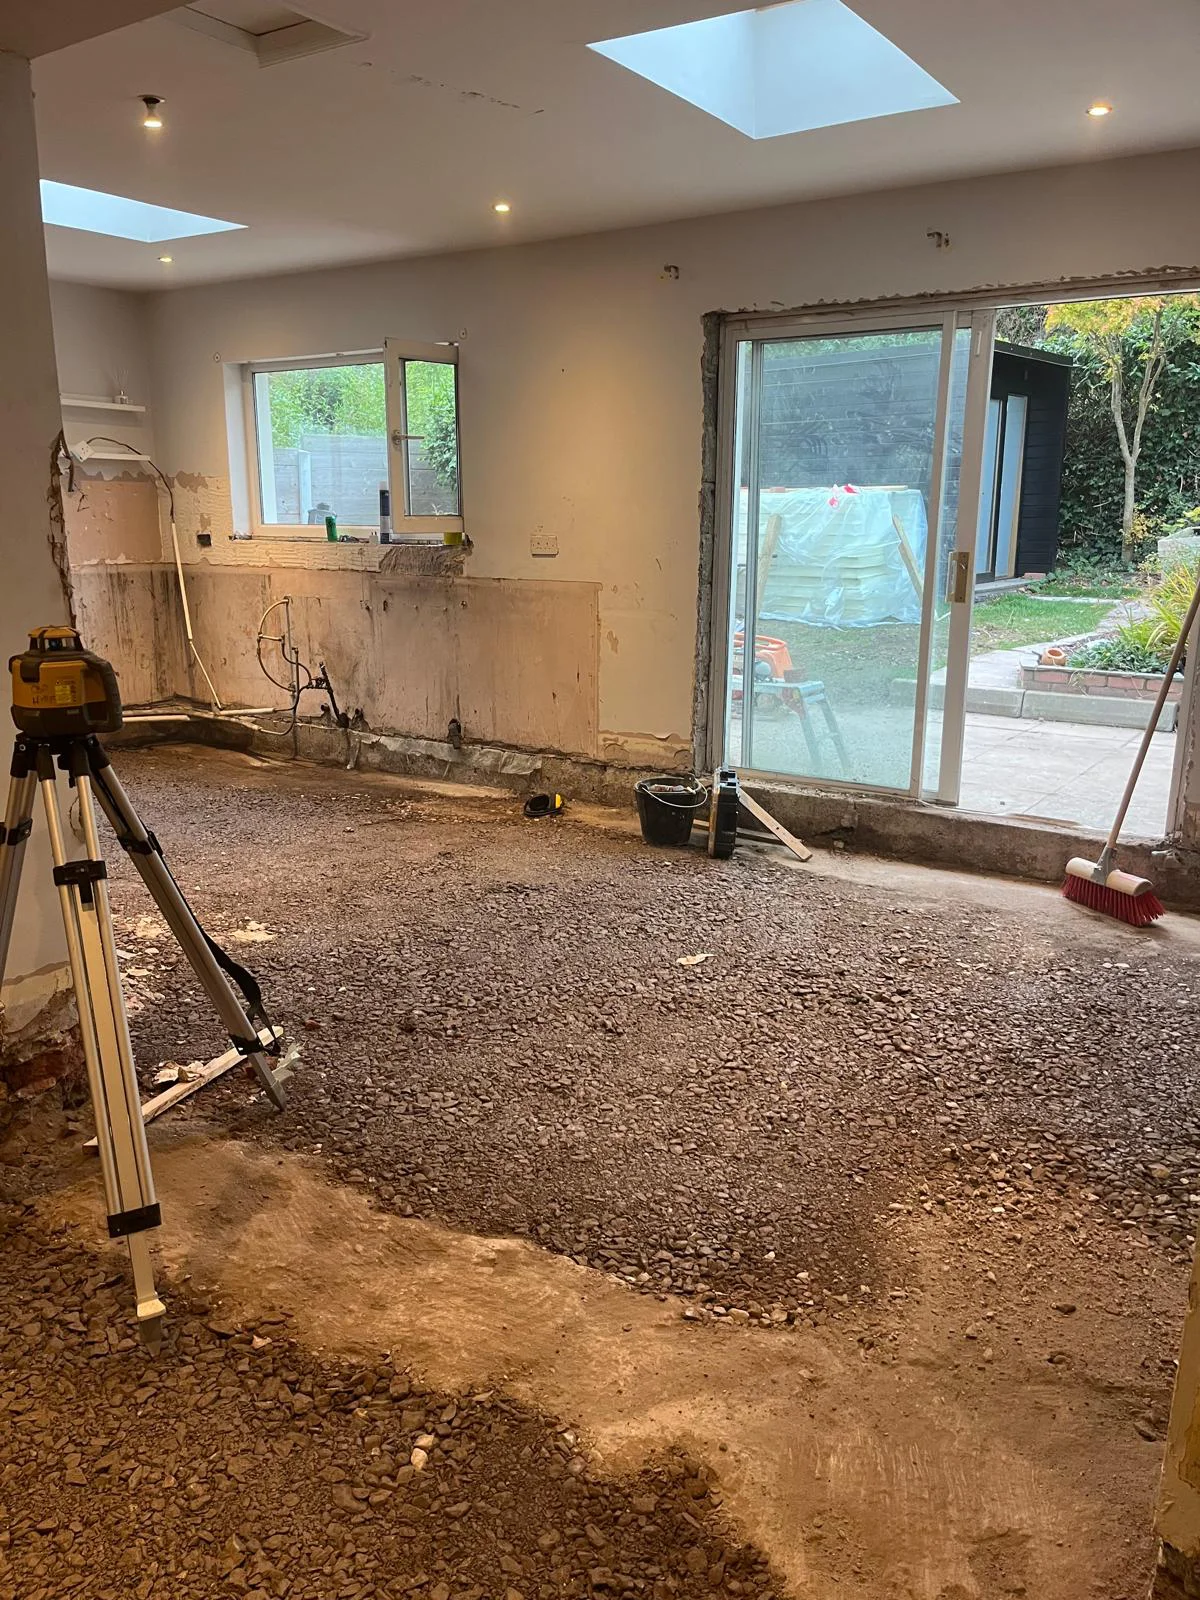
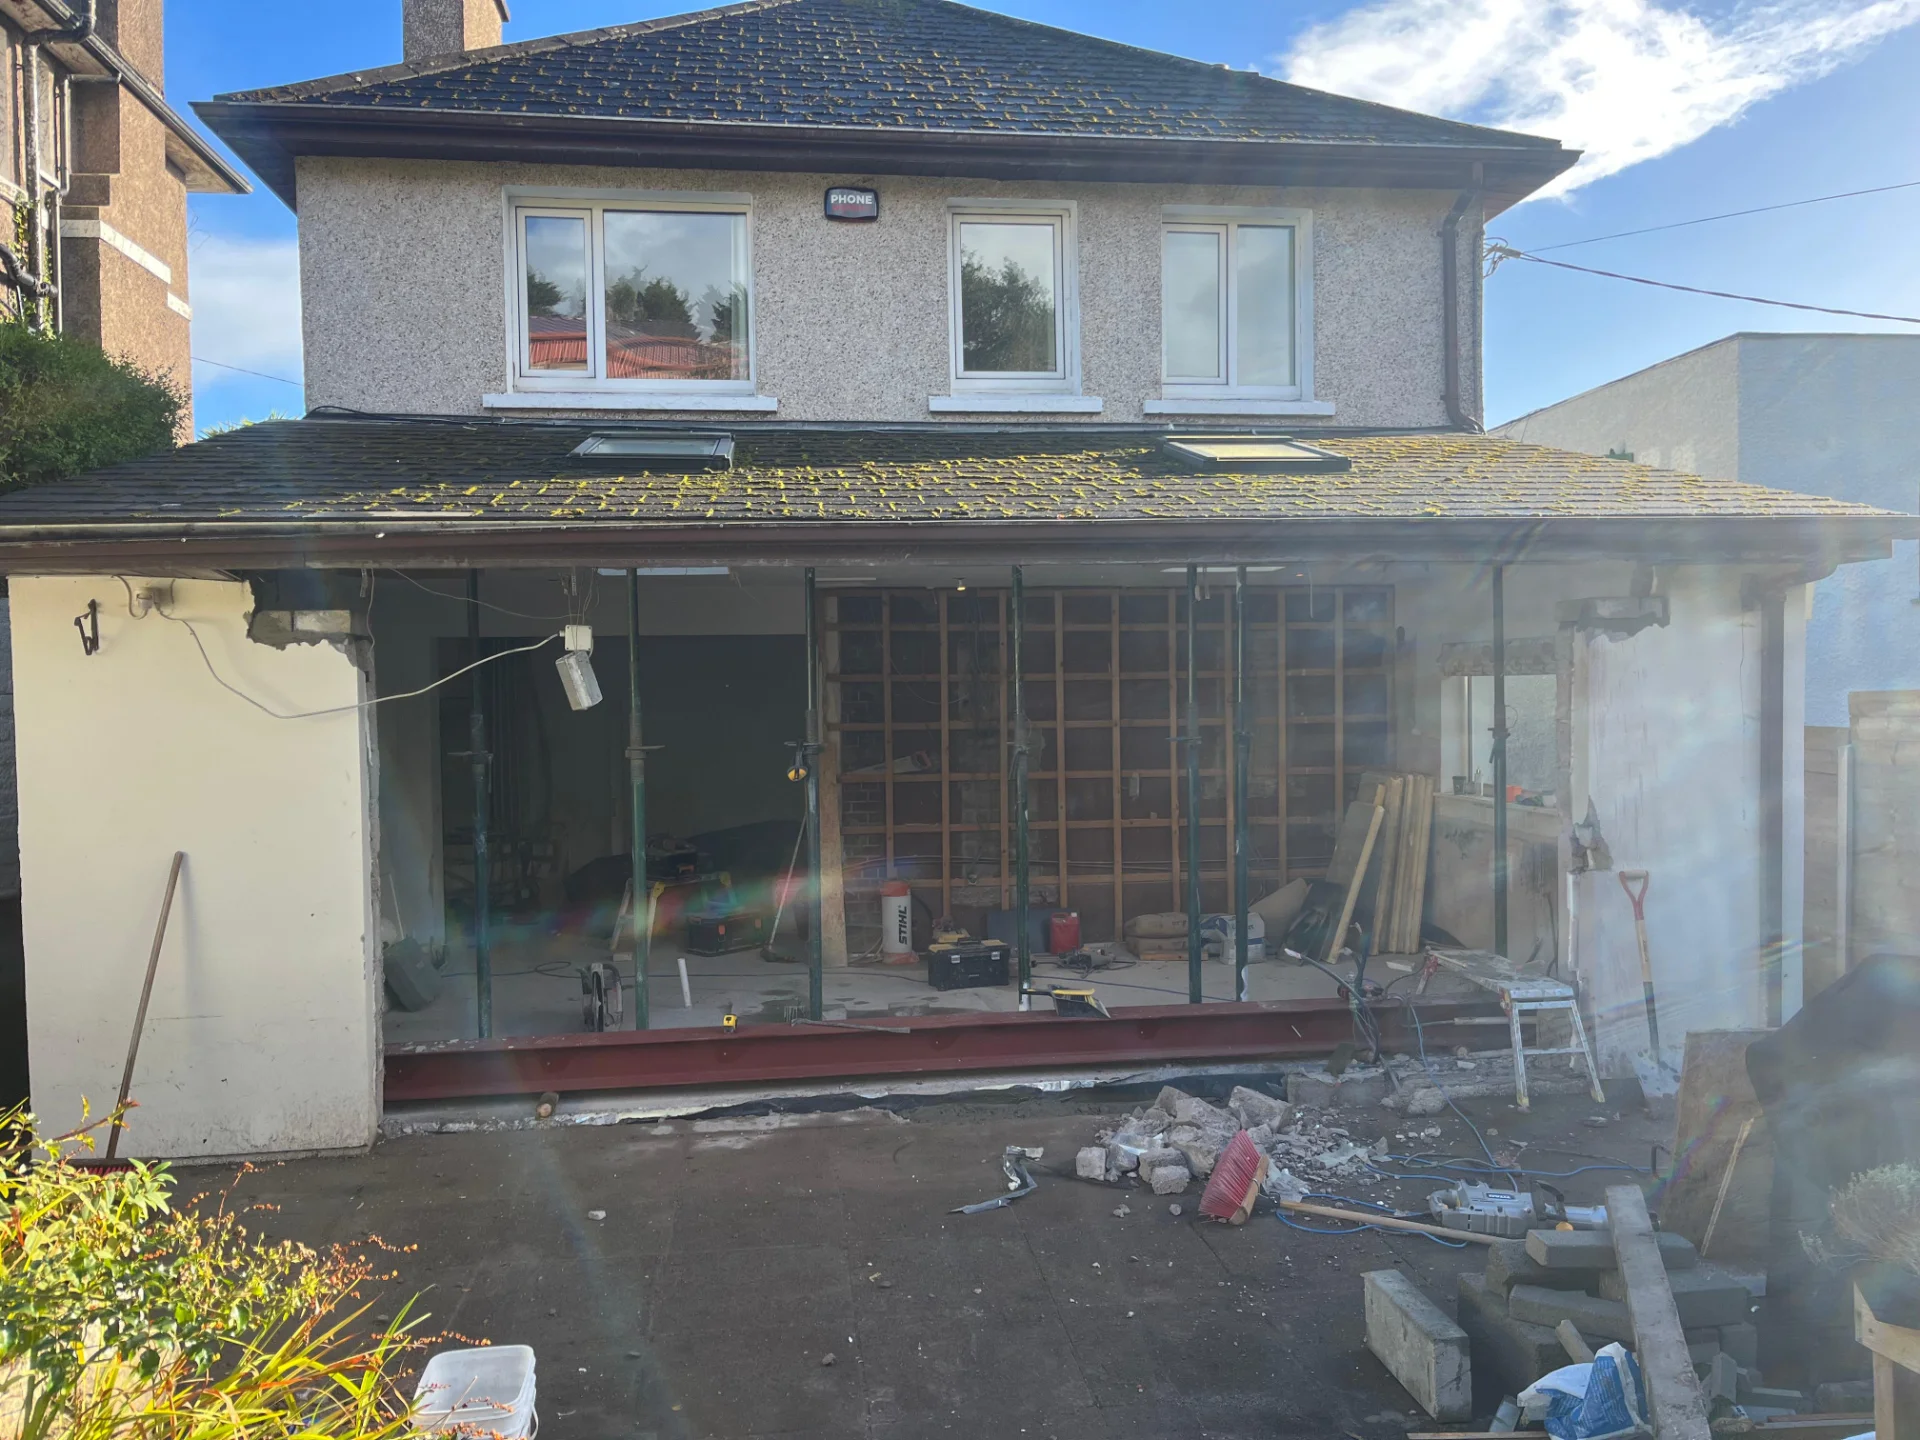
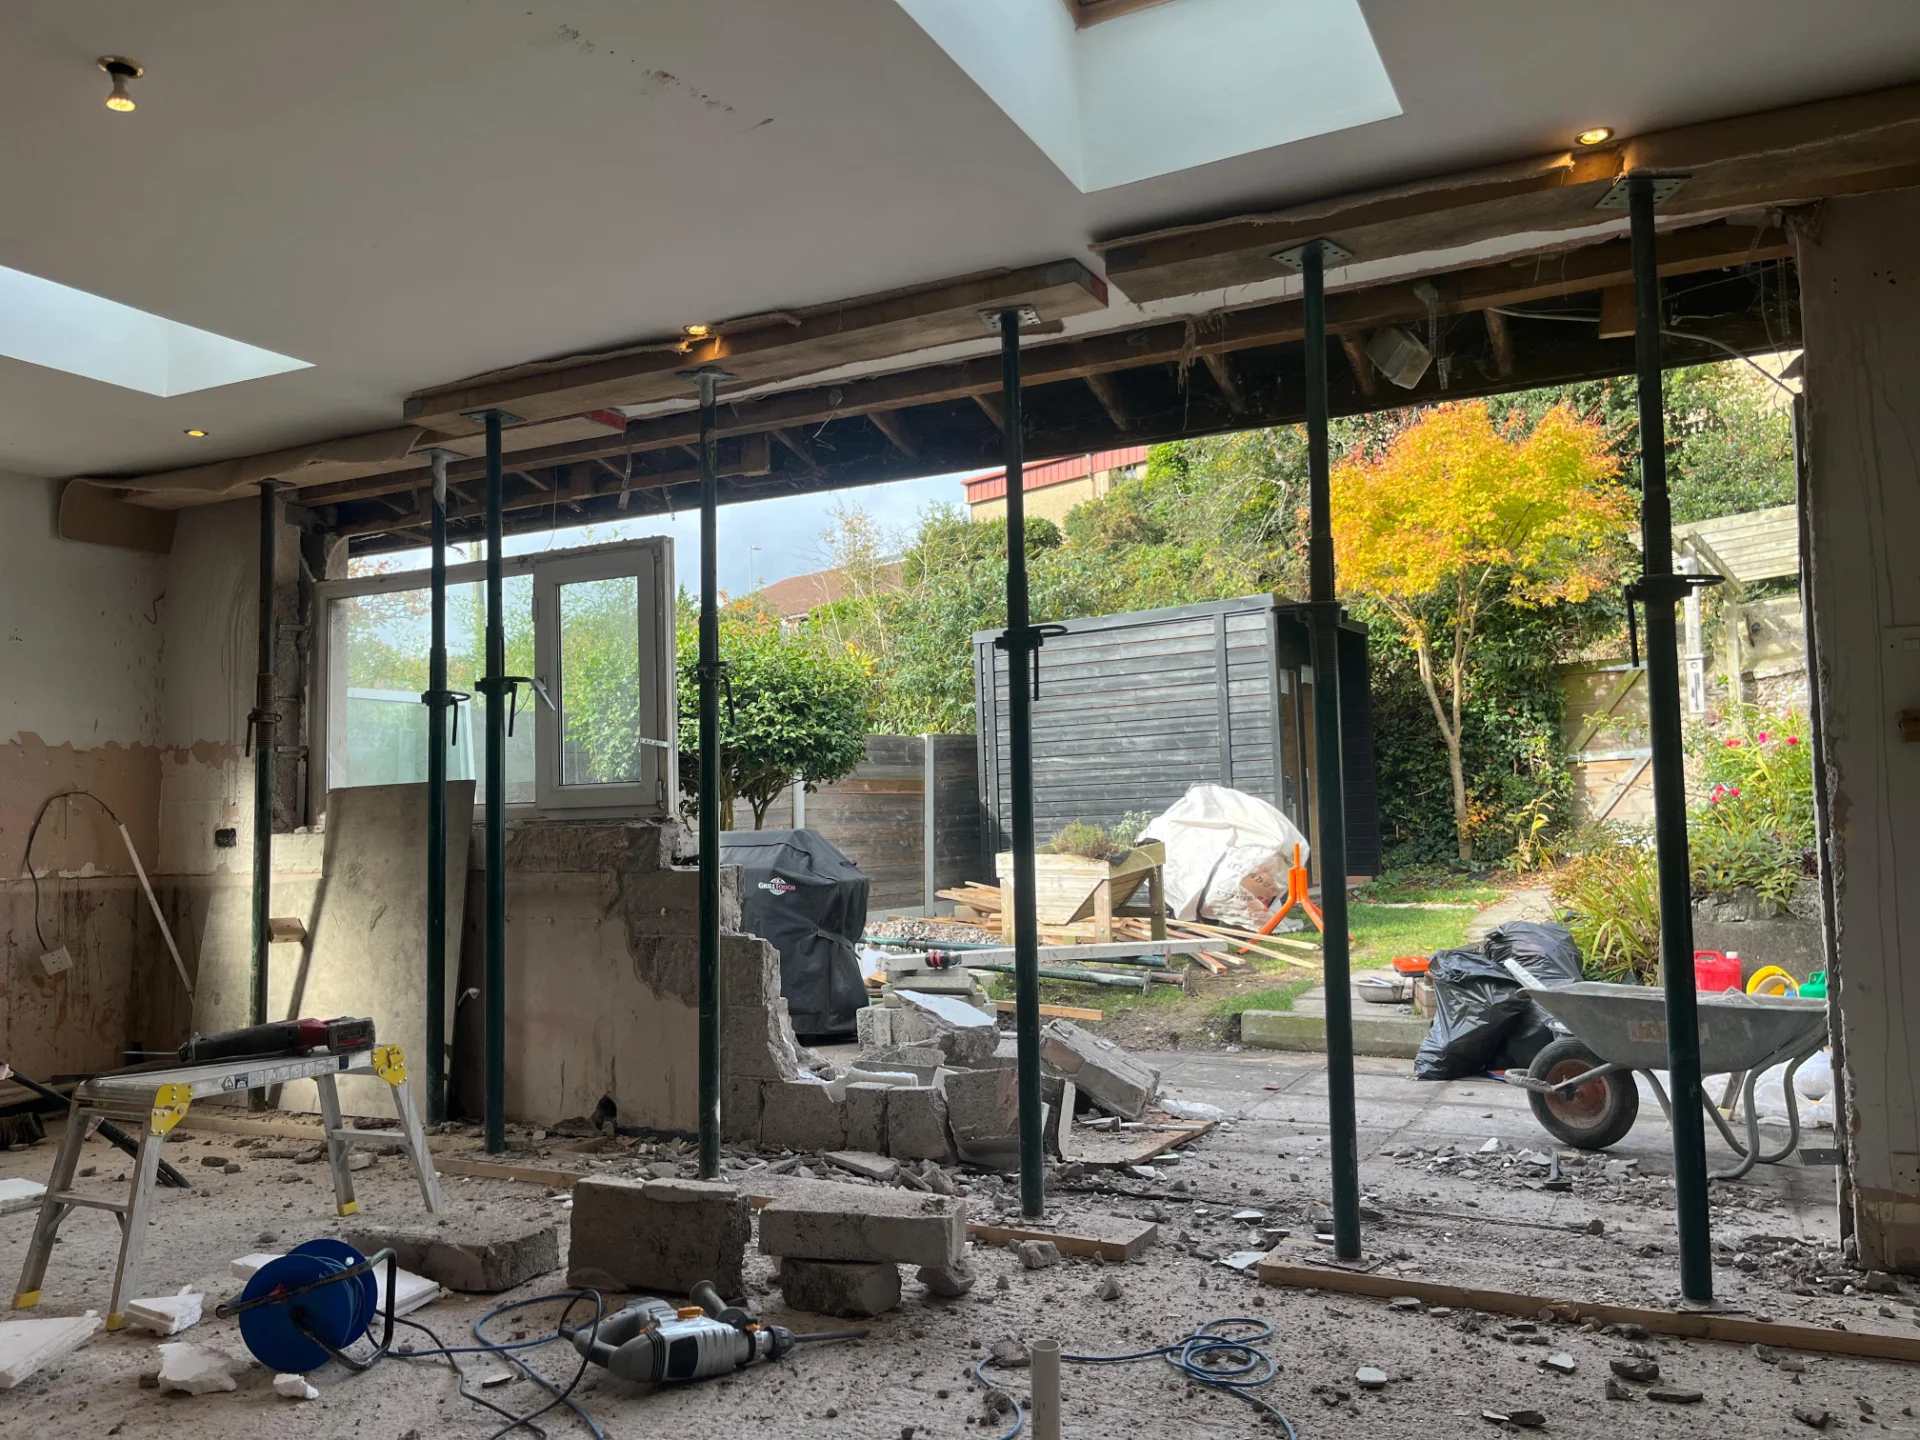
Our clients wanted to open up the entire rear wall of their home to create a bright, modern kitchen and dining space with a seamless connection to the garden through a large wall of glass.

The aim was to maximise natural light, improve flow between indoor and outdoor spaces, and create a contemporary open-plan living environment.

Rear Wall Opening with Glazed Kitchen Extension in McCurtain Street, Cork City

Step 1: Initial Assessment & Investigation

  • Assessed the existing structure to confirm the rear wall was load-bearing.
  • Opened investigation areas to determine the direction and layout of the floor joists and roof structure above.
  • Identified key load paths and confirmed support requirements with the structural engineer.
  • Reviewed foundation conditions and existing drainage locations prior to demolition works.

Step 2: Service Isolation & Preparation

  • Isolated and made safe all electrical, plumbing, and heating services within the rear wall.
  • Coordinated with certified trades to disconnect and reroute any affected services.
  • Protected surrounding finishes and installed dust control measures throughout the property.

Step 3: Temporary Structural Support

  • Installed adjustable props and strongboys to provide temporary support to the upper floor and roof structure.
  • Ensured all temporary supports were securely positioned and load distribution was checked before demolition commenced.
  • Maintained structural stability throughout all phases of the opening works.

Step 4: Demolition of Existing Rear Wall

  • Carefully removed the existing rear wall in controlled sections while maintaining support to the structure above.
  • Prepared the opening to suit the new steel beam and glazing system.
  • Managed waste and debris removal efficiently to maintain a clean and safe working environment.

Step 5: Steel Beam Installation

  • Lifted and installed the structural steel beam as specified by the structural engineer.
  • Positioned the beam onto concrete padstones at each bearing point to ensure proper load transfer.
  • Packed with non-shrink mortar and checked carefully for level, alignment, and bearing.
  • Completed all structural connections and restraint measures in accordance with engineering drawings.

Step 6: Glazing Installation

  • Installed large-format aluminium sliding glass doors to create a full-width opening onto the garden.
  • Integrated low-threshold detailing to achieve a seamless transition between internal floor finishes and the external patio.
  • Completed airtightness, insulation, and weatherproofing details around the glazing system.

Step 7: Masonry, Finishing & Landscaping Works

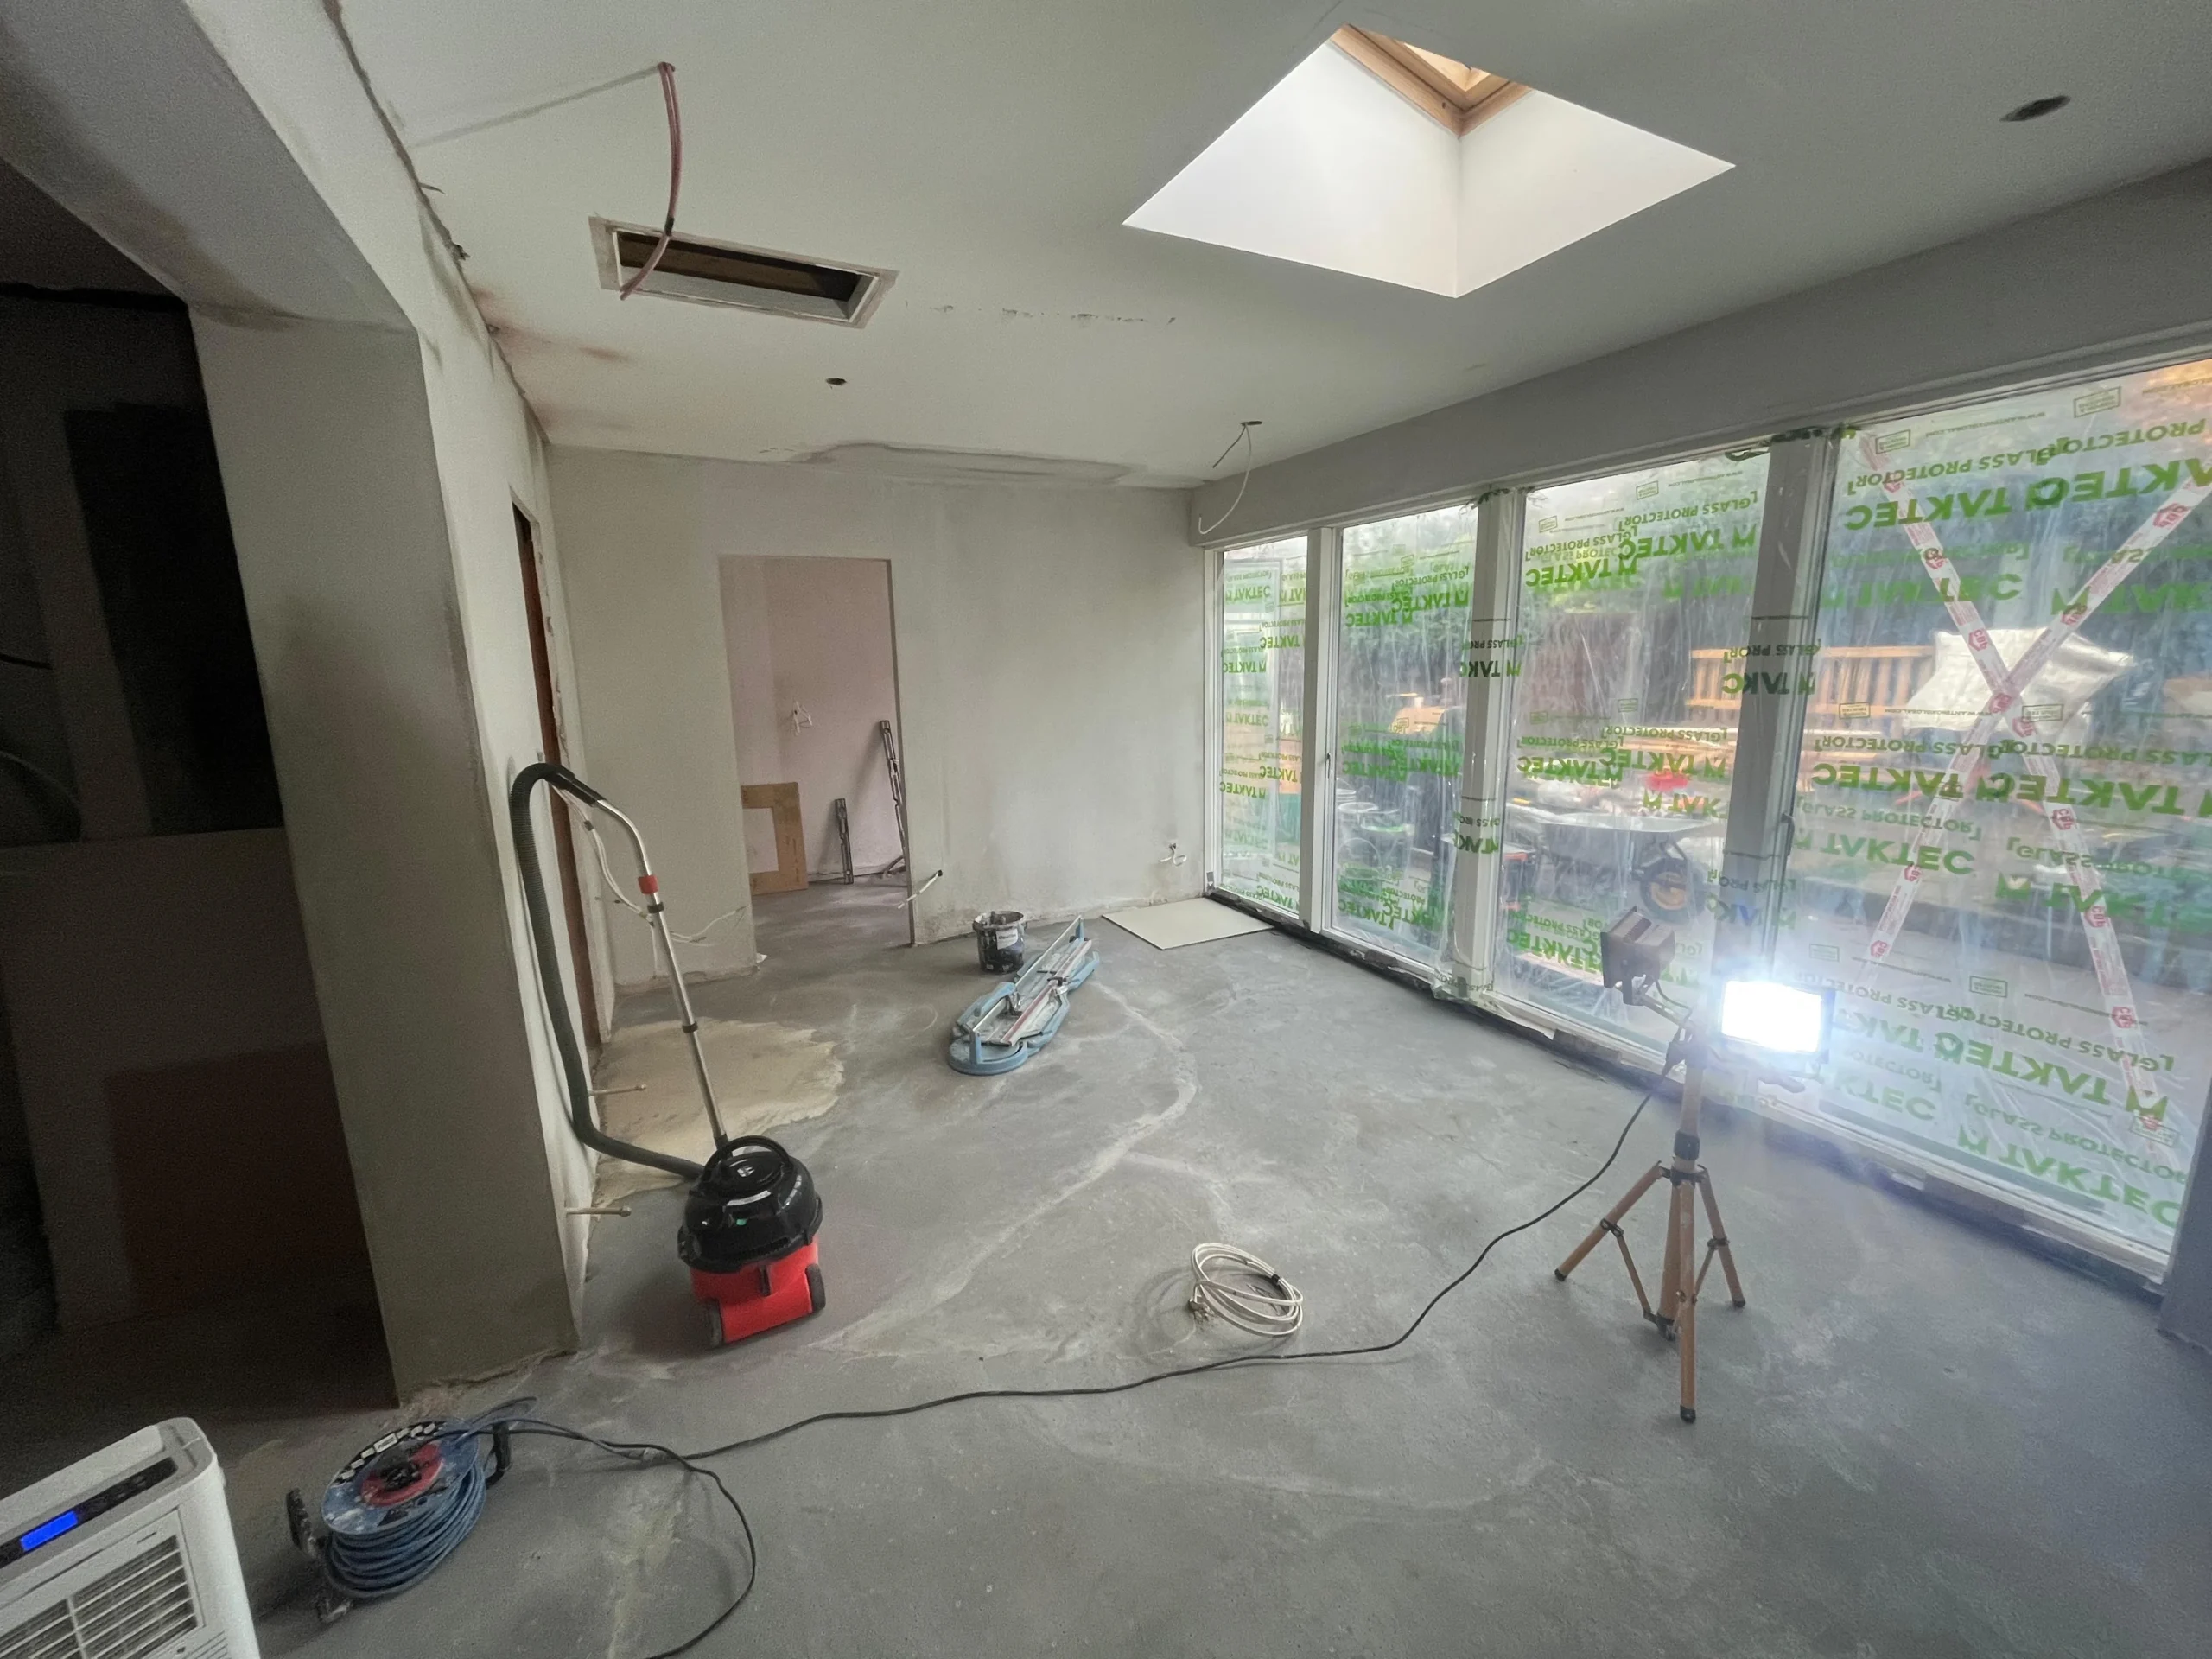
  • Made good all surrounding masonry and internal finishes to create a clean tie-in with the existing structure.

  • Prepared surfaces ready for plastering, painting, and kitchen installation.

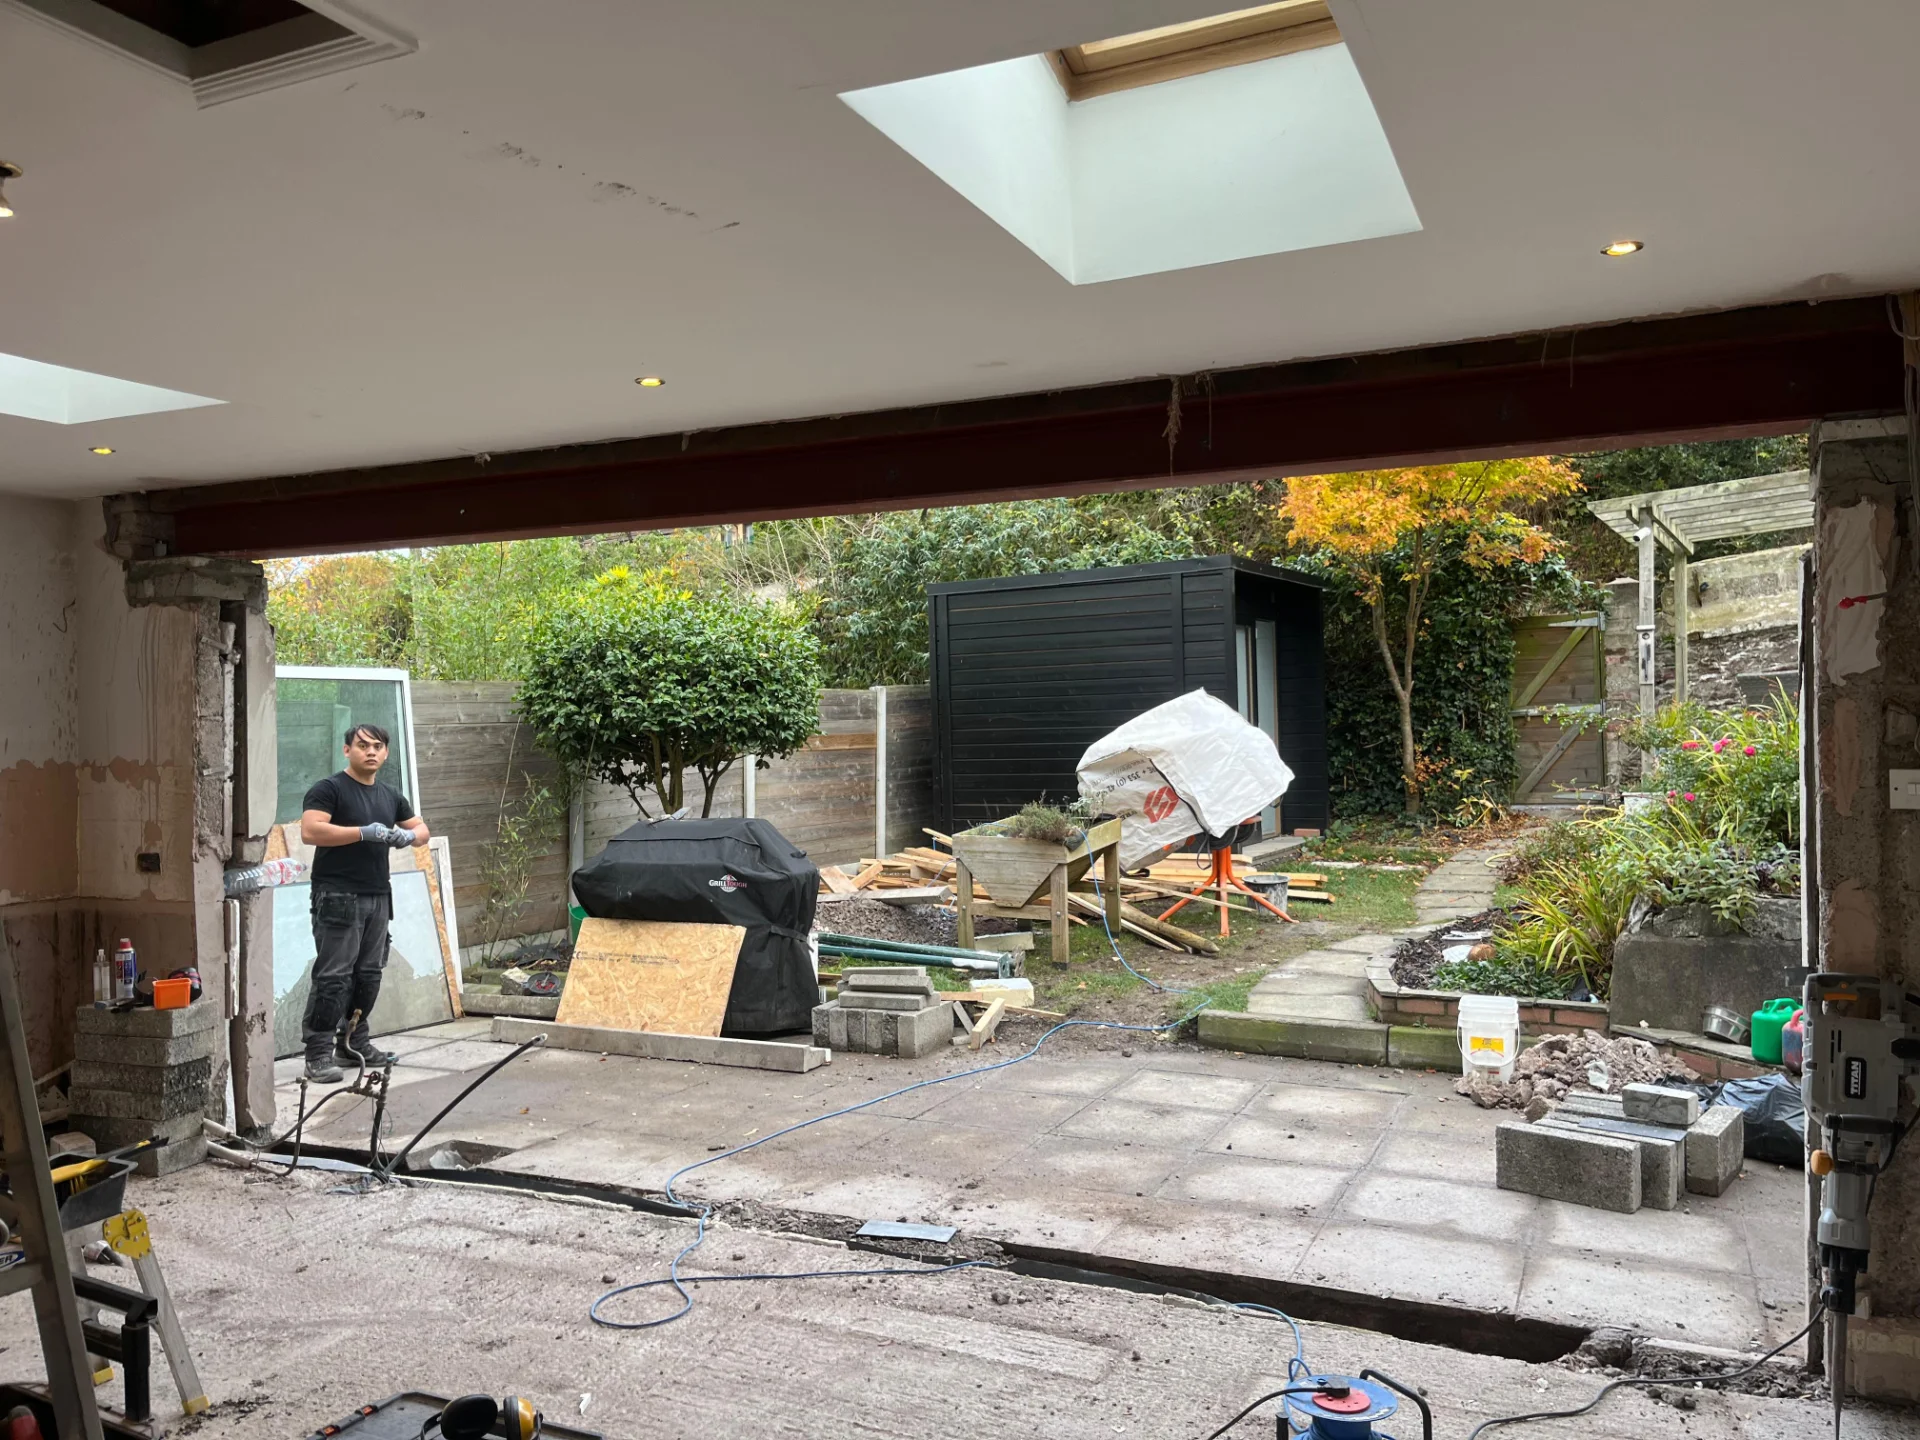
  • Completed patio and external landscaping works to strengthen the indoor–outdoor connection.

Step 8: Final Checks & Handover

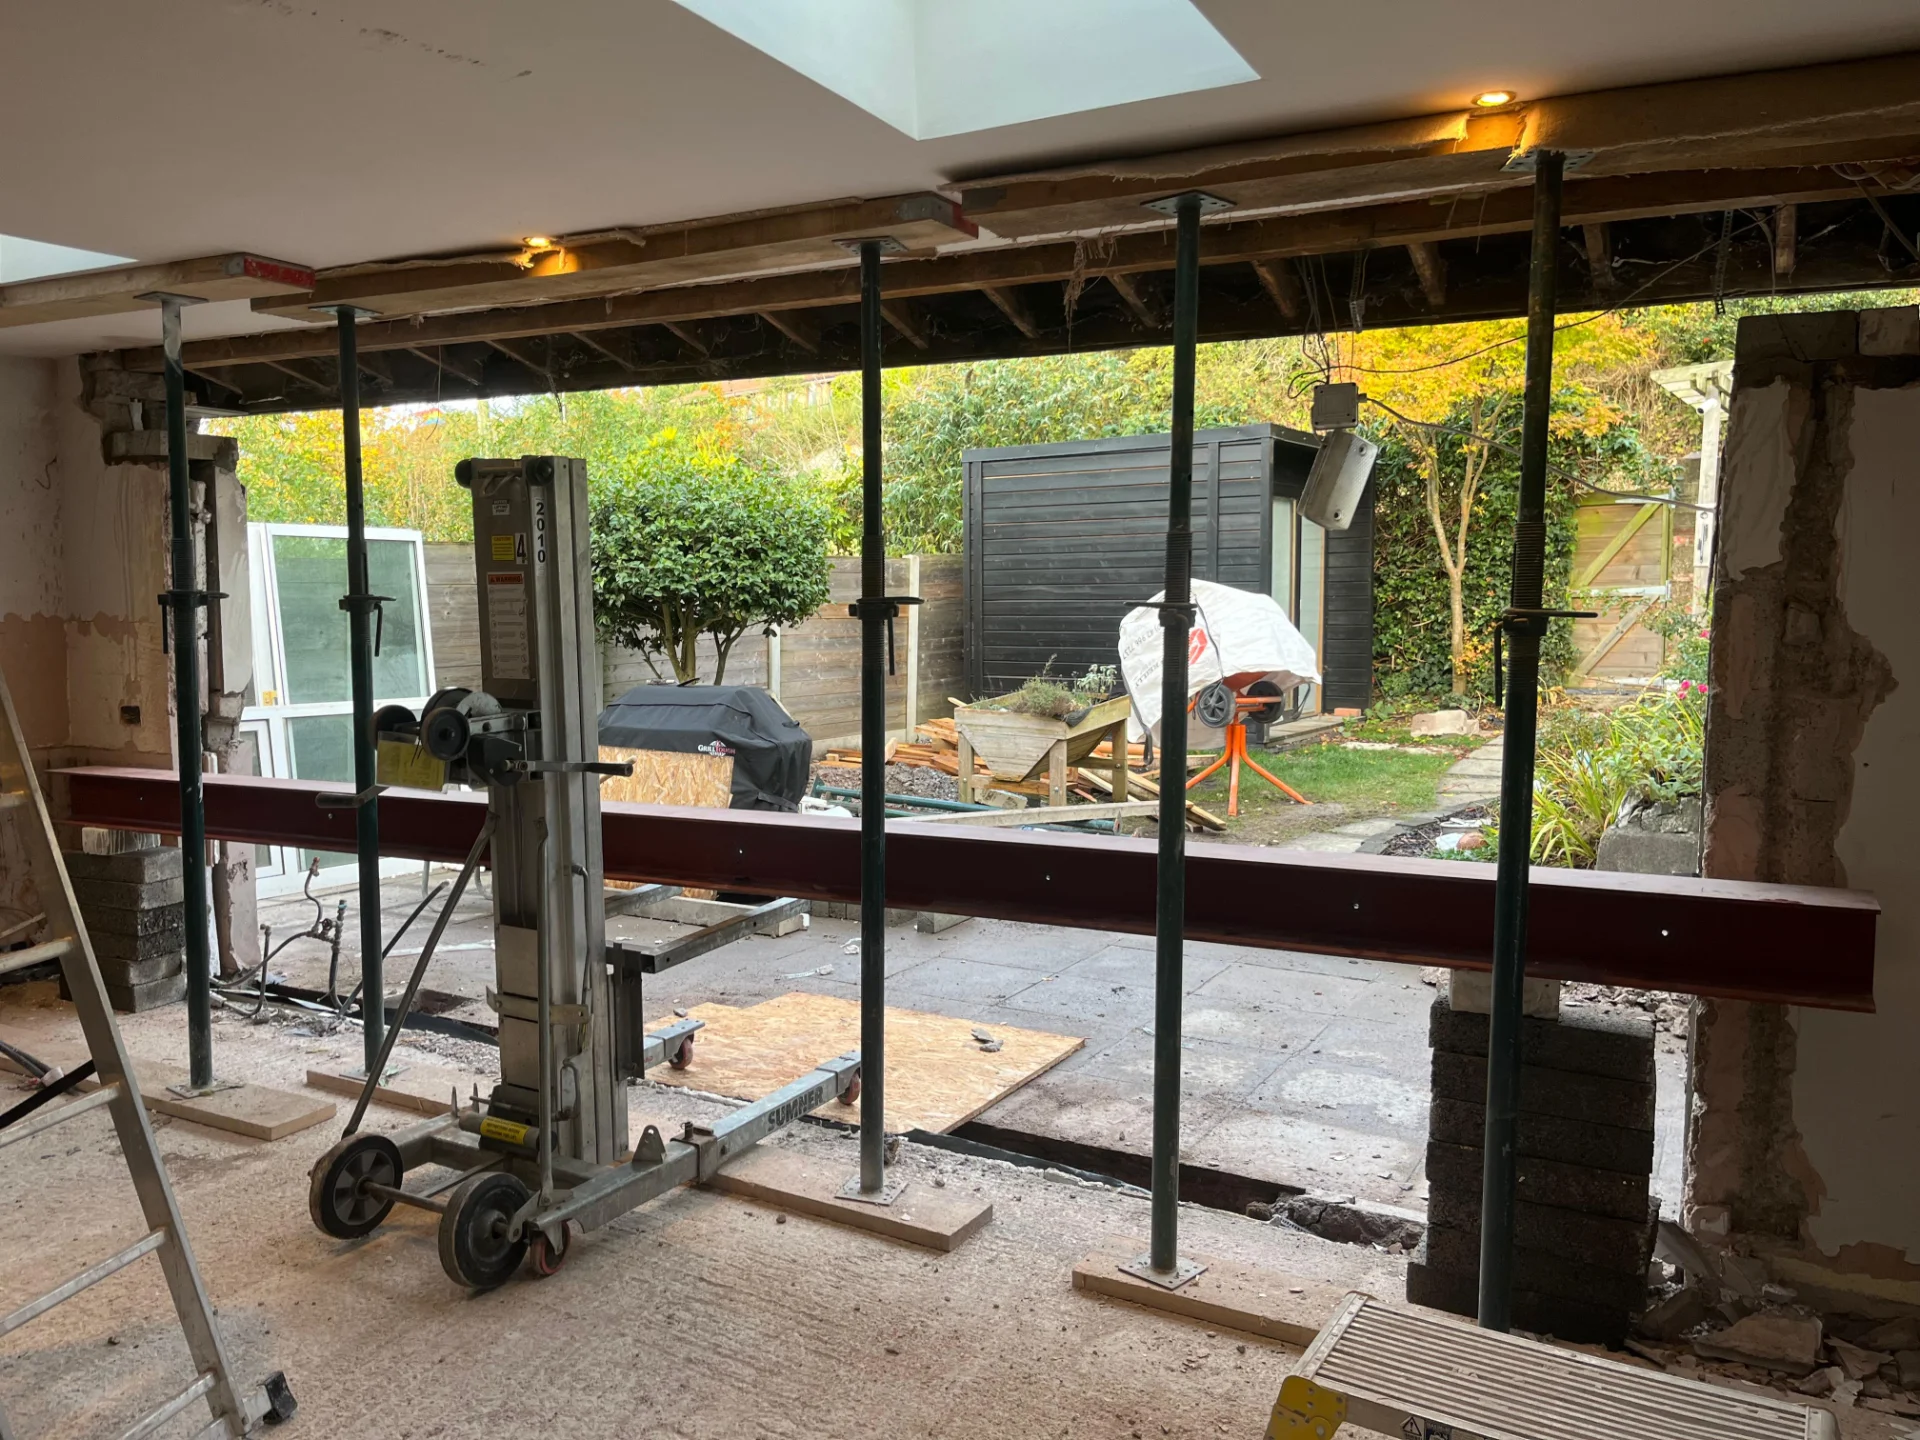
  • Removed all temporary structural supports once the steel beam and glazing system were fully secured.

  • Conducted final inspections to confirm compliance with structural and safety requirements.

  • Site was left clean, safe, and ready for final kitchen fitting and decoration.

Project Outcome

The completed project transformed the rear of the home into a bright and spacious open-plan kitchen and dining area with uninterrupted views of the garden. The new wall of glass dramatically increased natural light while creating a modern living space designed for everyday family use and entertaining.