
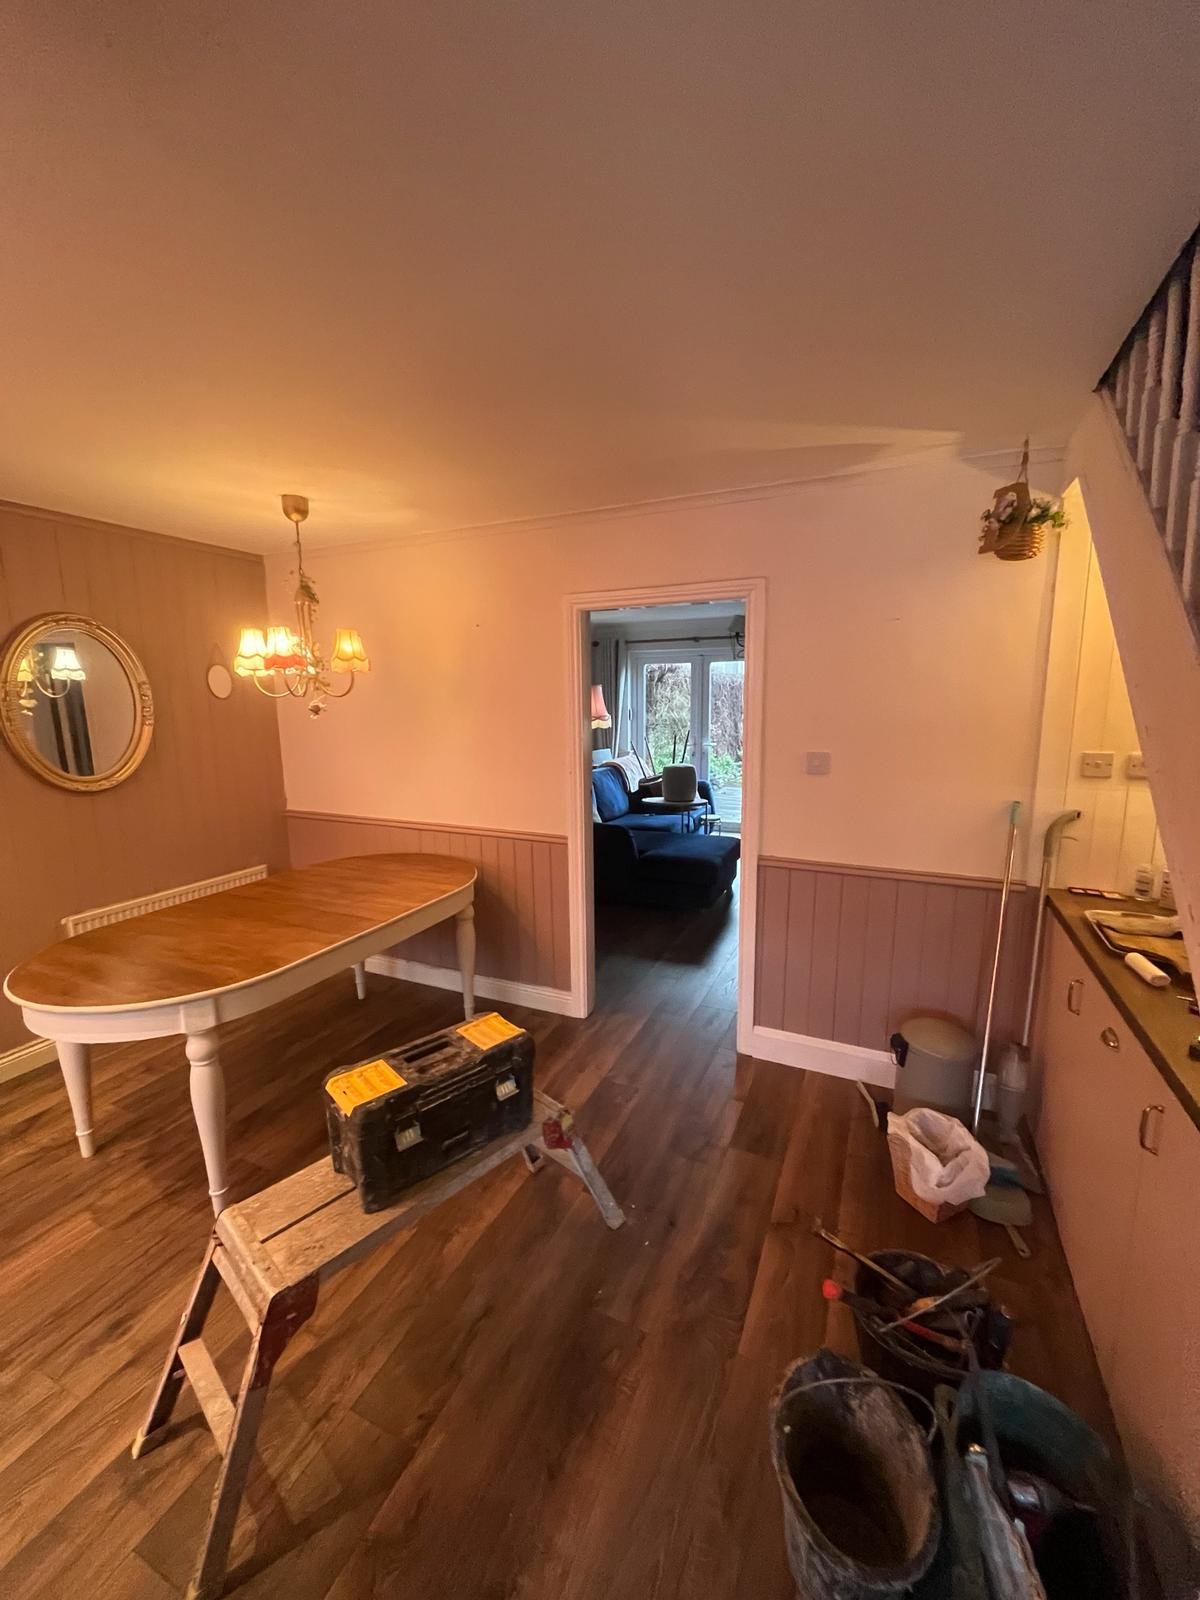
Our clients wanted to remove an internal stud wall between the kitchen and living area to create a brighter, more open-plan family space.
The aim was to improve the flow between rooms, maximise natural light throughout the ground floor, and modernise the overall layout without major structural alterations.
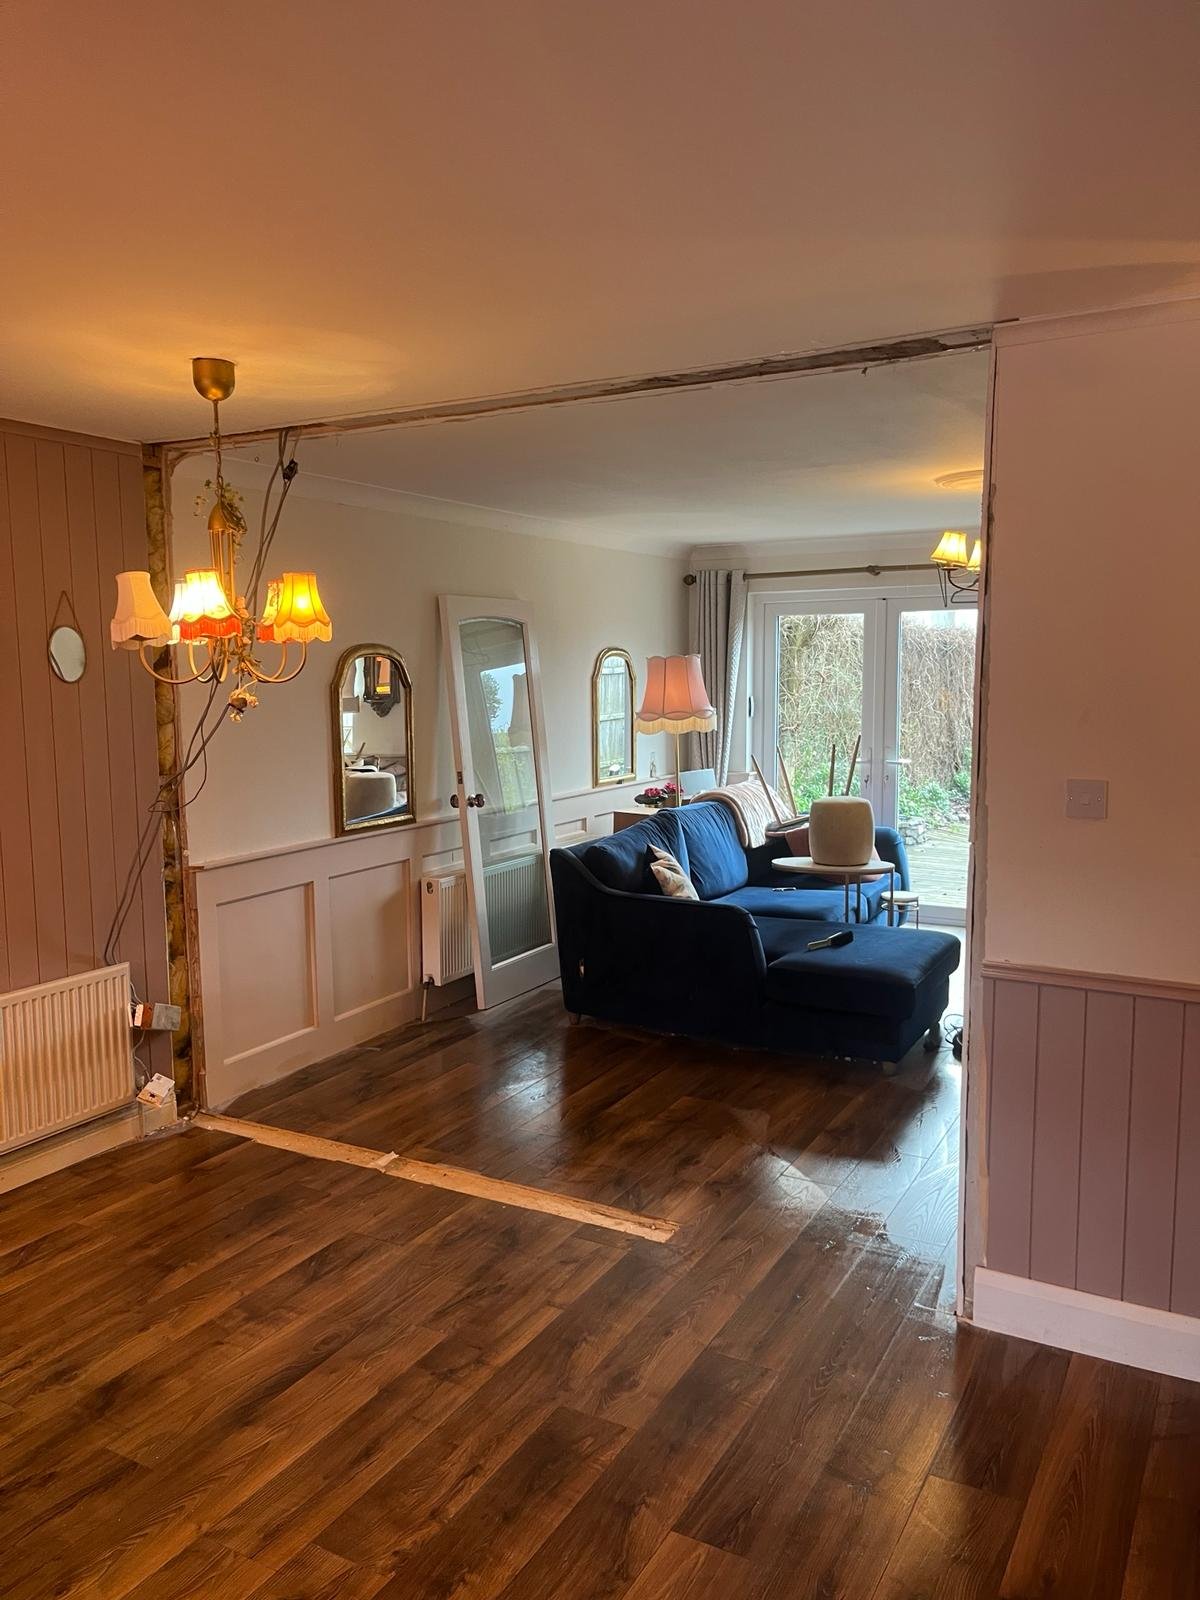
Conducted final inspections to confirm all works were completed safely and in accordance with current building standards. Ensured all electrical works were fully operational and properly finished. Site was left clean, tidy, and ready for final decoration and furnishing.